一个人固然寂寞,两个人孤灯下无言相对却可以更寂寞。 –龙应台 《目送》
Getting up and running with Flink is easy as ABC. In this post, we go over 5 “baby” steps to guide you through setting up your first running Flink application locally. We discuss the software requirements to get started and point out some training resources that will help you understand the functionality of the framework. We also show you how to bootstrap an application, if you prefer to start from scratch! This quick overview should enable you to spin up a Flink application in close to no time.
Software requirements
You can develop and execute Flink applications on Linux, Mac OS X and Windows. Because most of the developers in the community operate in Unix-based setups, this environment includes the richest tooling support. To get started, the only real requirement is to have a Java Development Kit (JDK) 8 (or higher) installed — regardless of whether you are going to use Java or Scala for development. Although it is not strictly required to develop Flink applications, we recommend that you also set up the following software on your machine:
- Apache Maven 3.x. Most examples in our introduction trainings assume Maven for build automation. Moreover, Flink provides Maven archetypes to bootstrap new Flink Maven projects.
- an IDE for Java and/or Scala development. Especially if you are going for Scala, we recommend using IntelliJ due to its out-of-the-box support for Maven and easy-to-install Scala plugin. For Java, Eclipse or Netbeans will work just as well.
Training material to get you going
If you prefer to start your own project from scratch, then feel free to skip to this and go directly to the next step. Otherwise, data Artisans provides a whole range of training exercises that will help you become familiar with how Flink operates and ease you over time into more complex topics such as time and state management. These exercises (and possible solutions) are available on GitHub, so you can easily clone the project and use Maven to build it:
1 2 3 | |
This should take a couple of minutes, depending on the speed of your connection — Maven will download all the required dependencies. If everything goes as expected and the build is successful, you are on the right track!
Bootstrapping your own Flink project
Getting started from an existing project is the easiest way to make your first steps in application development with Flink, sure. But what if you want to create your own project from scratch at some point? Flink provides Maven archetypes to generate Maven projects for both Java and Scala applications. To create a quickstart Java project as a basis for your Flink application, for instance, run the following command:
1 2 3 4 | |
The command above generates a Maven project for Flink 1.7.0 containing two classes: StreamingJob and BatchJob; that respectively provide the basic skeletons for a streaming and batch Flink program. You can adapt the parameters to match your version and naming preferences! We recommend that you import the project into your IDE of choice to get your hands on developing a runnable example. In case you are struggling with inspiration, you can get some hints in the Flink documentation.
Running and debugging your first Flink application
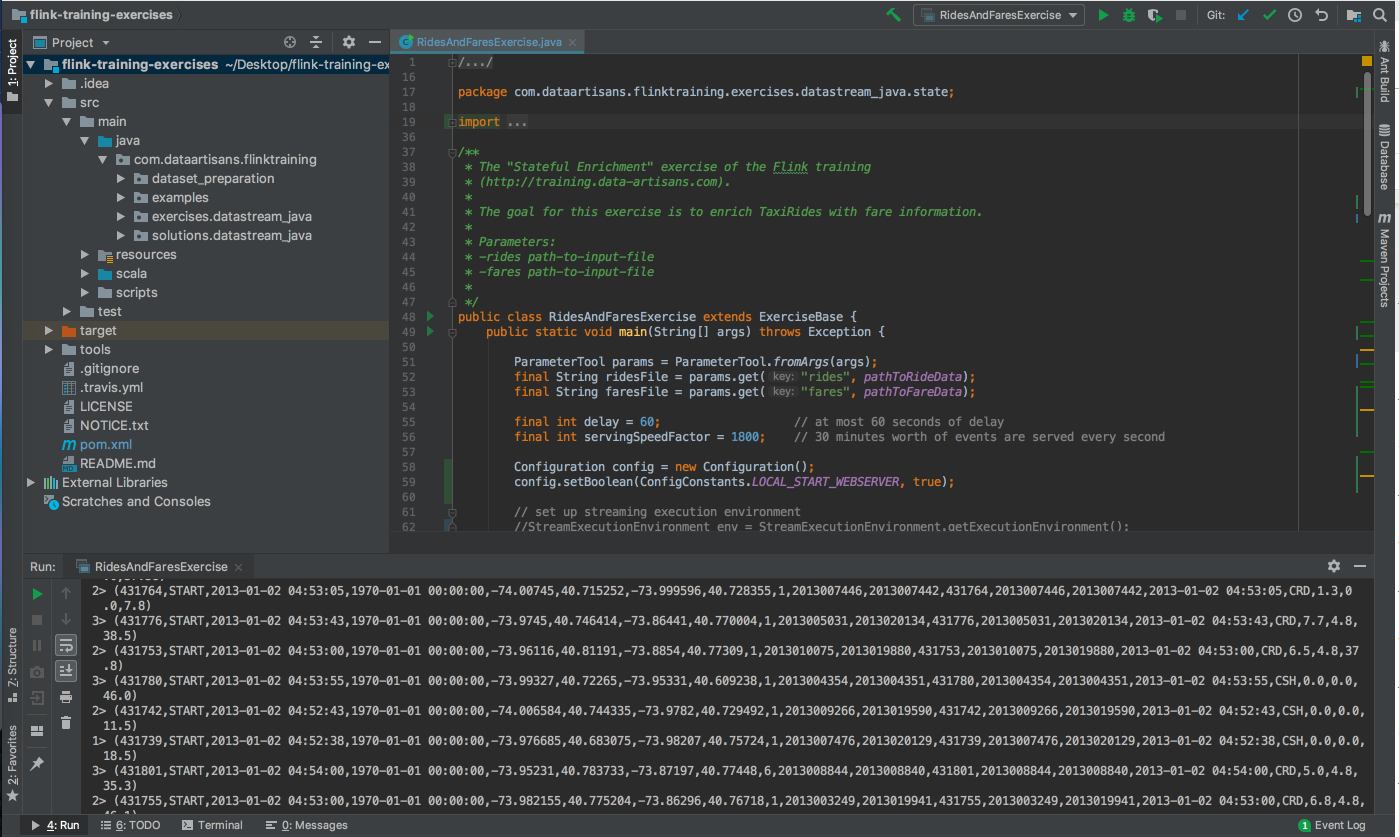
Although Flink is a distributed data processing system, it is easier to get started in a local environment, using just your machine. In a typical setting, you would have the master (JobManager) and workers (TaskManagers) running as separate JVM processes on separate machines; but Flink also includes a mode that allows you to execute applications within the same JVM as a multi-threaded process. This mode allows you to easily develop, debug and execute your Flink application within an IDE pretty much like any other Java or Scala project. To start your application, just run the main() method as you would normally!

Monitoring your Flink application
If you are wondering what is happening under the hood of your running application, you can easily make use of the web interface that is bundled up in Flink to visualize and monitor it. To enable the interface for your local development, you will need to add a new dependency to your POM file:
1 2 3 4 5 | |
And explicitly create a local execution environment with the required configuration:
1 2 3 4 5 | |
The Flink web interface should now be available under http://localhost:8081 once you get your program running, and look somewhat like the images below. Remember to update the Maven project once you change the POM file, if you don’t have auto-import enabled in your IDE — this might lead to an error when you first try to access the web interface.

Congratulations! You have just run your first Flink application in an IDE. A tutorial in the Flink documentation goes one step further and shows how to setup a local Flink cluster and submit a job just like submitting it to a remote cluster.
We encourage you to have a look through the Flink documentation for further support or more detailed information. If at any point you feel lost or have any questions: our community is very active on Stack Overflow, and you can also reach out to the developers using the Mailing List. The data Artisans Standard training goes through the training exercises in more detail, so if you would prefer to get some personal guidance, you can find more about future trainings and locations here. We are looking forward to your next adventures with Flink!flri